Swapping ERC20 tokens (on the Ethereum network) to BEP20 tokens (on the BNB Smart Chain) is a very common process, often called "bridging."
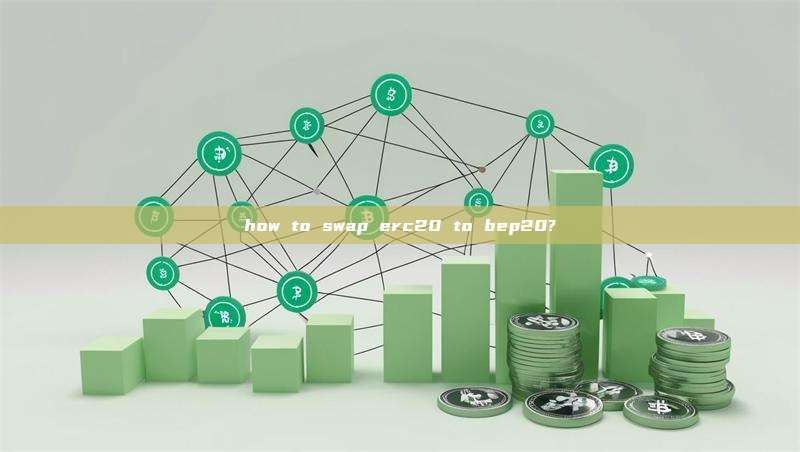
The tokens aren't technically "swapped" but rather locked on one chain and an equivalent amount is minted (or released) on the other chain.
Here’s a clear, step-by-step guide on how to do it safely.
The Core Concept: Using a Bridge
You will use a cross-chain bridge service. These are dApps (decentralized applications) that facilitate the transfer of assets between blockchains.
Popular and Reputable Bridges for Ethereum <> BNB Smart Chain:
Official Binance Bridge: The most straightforward method if you use Binance.
cBridge (by Celer Network): Fast, low-cost, and supports many networks.
Multichain (formerly Anyswap): A major player with deep liquidity for many assets.
Portal (by Wormhole): Another secure and popular option.
Method 1: The Easiest Way (Using Binance Exchange)
This method is highly recommended for beginners as it's integrated and user-friendly. It involves depositing to and withdrawing from the Binance exchange.
Step 1: Deposit your ERC20 token to Binance
Go to your Binance spot wallet.
Click Deposit and select the token you want to bridge (e.g., USDT).
Crucially, select the ERC20 network (Ethereum) as the deposit network. You will get an Ethereum address to send to.
Send your tokens from your wallet (like MetaMask) to this Binance address.
Step 2: Withdraw from Binance on the BEP20 network
Once your deposit is confirmed and the tokens are in your Binance spot wallet, click Withdraw for that same token.
Select the token and choose the BEP20 (BSC) network as the withdrawal network.
Enter your wallet's BSC address (this is the same as your Ethereum address in MetaMask).
Confirm the withdrawal. Binance will handle the conversion internally, and your tokens will arrive in your wallet on the BNB Smart Chain.
Pros: Simple, familiar interface. Cons: Requires KYC verification on Binance.
Method 2: Using a Decentralized Bridge (e.g., cBridge)
This method is done entirely from your own wallet (e.g., MetaMask) without a centralized exchange.
Prerequisites:
A Web3 Wallet: MetaMask is the most common.
Networks Configured:
Network Name: BNB Smart Chain
RPC URL:
https://bsc-dataseed.binance.org/ChainID:
56Symbol: BNB
Block Explorer URL:
https://bscscan.comEthereum Network: Usually added by default.
BNB Smart Chain: You must add it manually.
Gas Fees:
You need a small amount of ETH in your wallet to pay for the Ethereum transaction (to approve and send).
You need a very small amount of BNB on the BSC side to pay for the transaction to receive the bridged tokens.
Step-by-Step Guide (using cBridge as an example):
Step 1: Connect Your Wallet
Go to the cBridge website.
Click "Connect Wallet" and link your MetaMask.
Step 2: Select Tokens and Networks
In the "From" section:
Select Ethereum as the chain.
Choose the token you want to transfer (e.g., USDT) and enter the amount.
In the "To" section:
Select BNB Chain (BSC) as the chain.
It will automatically show you the estimated amount of the BEP20 token you will receive.
Step 3: Approve and Transfer
Approve: The bridge will first ask you for an "Approve" transaction. This allows the bridge contract to spend your ERC20 tokens. Confirm this transaction in MetaMask (pay ETH gas fee).
Transfer: After approval, a "Transfer" button will appear. Click it and confirm the second transaction in MetaMask (another ETH gas fee).
Step 4: Wait and Receive
The bridge will now process the transfer. This can take a few minutes.
Once complete, you can add the BEP20 token contract address to your MetaMask (on the BSC network) to see your new balance. You can find the correct contract address on sites like CoinMarketCap or BscScan.
⚠️ Critical Safety Tips
Double-Check Networks: Always ensure you are sending and receiving on the correct networks (ERC20 vs. BEP20). Sending to the wrong network can result in permanent loss of funds.
Verify Contract Addresses: When using DEXs or bridges, bookmark their official websites. Double-check URLs to avoid phishing sites. Always verify token contract addresses on a block explorer before adding them to your wallet.
Start Small: For your first time, do a test transaction with a small amount to ensure everything works correctly.
Gas Fees: Be aware that Ethereum gas fees can be high. Check ETH Gas Station to choose a good time for a cheaper transaction.
Slippage and Fees: Bridges charge a small fee and there might be slippage. Review all details before confirming.
Summary of Your Options:
| Method | Difficulty | Cost | KYC Required? | Key Requirement |
|---|---|---|---|---|
| Binance Bridge | Easy | Yes | Binance Account | |
| cBridge / Multichain | Intermediate | Medium (ETH gas) | ETH for gas, BNB for gas | |
| Portal Bridge | Intermediate | Medium (ETH gas) | No | ETH for gas, BNB for gas |
For most users, using the Binance exchange (Method 1) is the safest and easiest path. For those who prefer to stay in the decentralized world, using cBridge (Method 2) is an excellent choice.