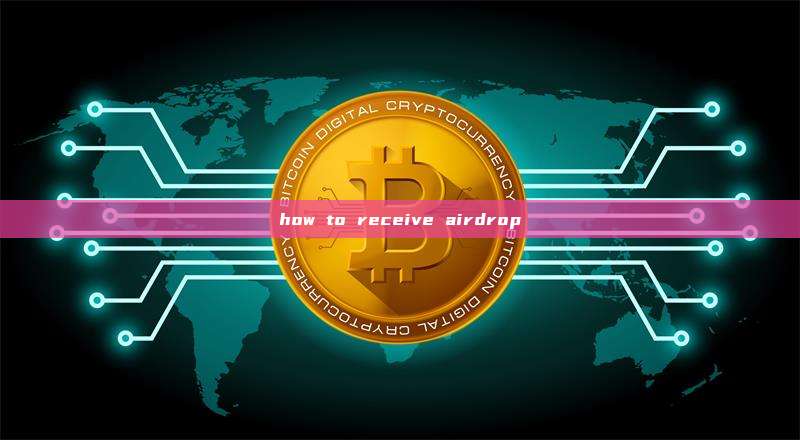
Receiving an airdrop can be exciting, but it's crucial to do it safely to avoid scams. Here is a comprehensive guide on how to receive an airdrop, from the basics to advanced safety tips.
Part 1: The Two Main Types of Airdrops
There are two primary ways airdrops are distributed, and the process is slightly different for each.
Type 1: Automatic / Snapshot Airdrops
This is the most common type for major, well-known projects.
How it works: The project team takes a "snapshot" of a blockchain at a specific block height. If you meet their criteria (e.g., holding a certain cryptocurrency in your wallet or using a specific dApp), you are automatically eligible.
How to Receive:
Crucial Point: Holding coins on a centralized exchange (like Coinbase, Binance) often makes you ineligible. Always check the airdrop rules.
Hold the Required Crypto: Simply hold the specified cryptocurrency in your own, non-custodial wallet (like MetaMask, Phantom, Trust Wallet) before the snapshot is taken.
Do Nothing (for a while): After the snapshot, the project will develop and launch its token.
Claim the Airdrop: Once the token is live, you will usually need to visit the project's official website, connect your wallet, and "claim" your tokens. Sometimes they are distributed automatically to your wallet address.
Example: The famous Uniswap airdrop in 2020 automatically gave UNI tokens to anyone who had used the protocol before a certain date.
Type 2: Manual Task / Raffle Airdrops
These are used for marketing and community growth. They require active participation.
How it works: You complete a list of tasks to prove you're an engaged user and earn an entry or a guaranteed allocation.
How to Receive:
Follow Social Media: Follow the project on Twitter (X), join their Telegram group, and retweet their announcement.
Provide Your Wallet Address: You will often need to provide your wallet address in a form or by sending a small transaction to "register."
Complete Tasks: This can include creating content, referring friends, or testing a testnet version of their app.
Claim: If selected, you will be given instructions on how to claim your tokens, similar to the automatic airdrop process.
Part 2: Step-by-Step Guide to Preparing for and Receiving Airdrops
Here is a safe, actionable process.
Step 1: Set Up a Secure Wallet
This is the most important step. You need a self-custody wallet where you control the private keys.
For Ethereum and EVM chains: MetaMask is the standard.
For Solana: Phantom is excellent.
For Cosmos: Keplr is the go-to.
Multi-chain: Trust Wallet or Rabby Wallet are good options.
⚠️ Security First: Never share your seed phrase (recovery phrase) with anyone. Legitimate airdrops will never ask for it.
Step 2: Find legitimate Airdrop Opportunities
Not all airdrops are created equal. Focus on quality sources.
Airdrop Aggregator Websites: Sites like Airdrops.io, CoinMarketCap Airdrops, and DappRadar curate lists.
Crypto News Outlets: Follow reputable crypto news sites.
Project Official Channels: The best source is always the project's official Twitter (X) account, Discord, or blog.
Step 3: Research the Project Thoroughly (DYOR - Do Your Own Research)
Before you invest any time or gas fees, ask:
Is the team public/doxxed? Anonymous teams are a higher risk.
Does the project have a real product or use case? Or is it just a token?
Are the airdrop rules clear and logical? Vague rules are a red flag.
Does the community seem genuine? Check their social media for real engagement.
Step 4: Fulfill the Eligibility Criteria
For Automatic Airdrops: Ensure your funds are in the correct wallet before any announced snapshot date.
For Manual Airdrops: Complete the required tasks carefully.
Step 5: Claim Your Tokens
Once the airdrop is live:
Go to the official project website (double-check the URL!).
Connect your wallet (e.g., MetaMask, Phantom).
If you are eligible, you should see a "Claim" button.
You will need to pay a gas fee (network transaction fee) to claim the tokens. Confirm the transaction in your wallet.
The tokens will appear in your wallet. You may need to "import the token" manually in your wallet to see it by adding its contract address.
Part 3: ⚠️ CRITICAL Safety Tips to Avoid Scams ⚠️
The world of airdrops is full of scams. Protecting yourself is paramount.
NEVER SHARE YOUR SEED PHRASE OR PRIVATE KEYS. This is the #1 rule. No legitimate airdrop will ever ask for this.
Beware of "Gas Fee" Advance-Fee Scams: If a site asks you to send ETH/SOL to a personal address to "pay gas" or "unlock" your airdrop, it's a scam. Real gas fees are paid directly to the network within your wallet when you sign a transaction.
Double-Check ALL URLs: Scammers create fake websites that look identical to the real one. Always check the official project's social media for the correct link. Bookmark the real site.
Don't Connect Your Wallet to Shady Sites: Only connect your wallet to websites you 100% trust. A connected wallet can be drained if the site is malicious. Use a "burner" wallet with minimal funds for airdrop hunting.
Ignore DM Offers: Anyone who DMs you offering a special airdrop or asking you to "verify your wallet" is a scammer.
Verify the Token Contract Address: Before you trade or provide liquidity for a new airdropped token, verify its official contract address on a block explorer (like Etherscan or Solscan) or the project's official channels.
Summary Checklist for a Safe Airdrop:
Use a dedicated, self-custody wallet (e.g., MetaMask).
Found the airdrop on a reputable source.
Researched the project (DYOR).
Read and understood the official rules.
NEVER shared my seed phrase.
Checked that the website URL is correct.
Used a "Claim" function that only charged a standard gas fee within my wallet.
The tokens arrived safely.
By following these steps, you can safely participate in the exciting world of crypto airdrops and potentially receive valuable tokens for being an early user of a promising project.