Launching a token on Solana no longer requires deep technical expertise. With GTokenTool, you can create a token, seed initial liquidity, and manage your project—all in minutes, without writing a single line of smart contract code. This guide walks you through the entire process using the “Create Pump” feature.
What Is One-Click Token Creation?
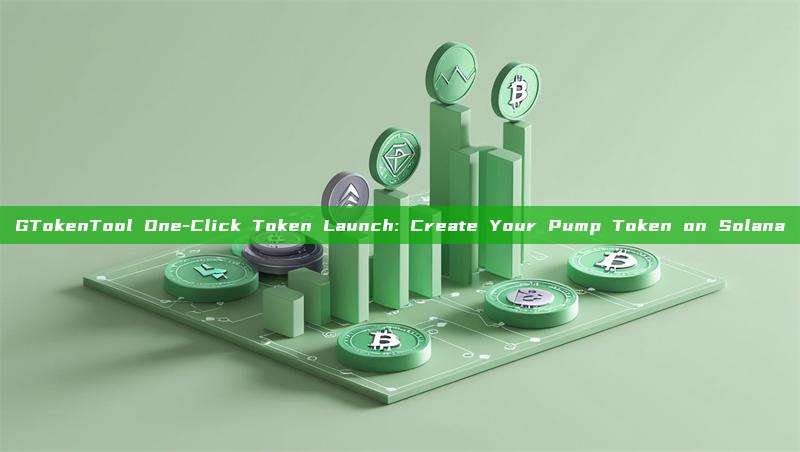
One-click token creation lets you handle complex on-chain operations through a simple visual interface:
-
Create a token – set its name, symbol, total supply, and decimals.
-
Market injection – provide initial liquidity through a virtual curve market that enables automatic price discovery.
-
Fee settings – customize buy and sell tax rates to fit your project’s needs.
The whole process is as easy as filling out a form.
Step 1: Go to the Create Pump Page
Head over to the GTokenTool website. From the top or side navigation bar, click on “Create Pump” to enter the setup page.
Step 2: Configure Your Token
Under the creation mode, fill in the following details:
-
Basic Info – Choose your token name, symbol, total supply, and decimals. Keep in mind that the total supply is influenced by decimals. For example, a total supply of 1 billion with 6 decimals equals an actual supply of 1,000,000,000.000000.
-
Chain & Market Mode – Select Solana. The Pump launch mode is applied by default.
-
Buy / Sell Tax Rates – Set your own tax percentages for each transaction. Enter whole numbers only; for instance, 1% is just
1. -
Social & Media Links – Add your website, Twitter, Telegram, Discord, and any other links. These can be updated later.
The system will automatically generate a virtual market ID based on a bonding curve and allocate a portion of your tokens to that market address as initial liquidity.
Step 3: Review Fees and Confirm the Transaction
Once you’ve double-checked everything, click “Next” to see the fee breakdown. The platform clearly displays the total cost—usually just a few dollars’ worth of SOL.
Hit “Confirm” and your wallet will prompt you to approve the transaction. Pay the gas fee and wait for network confirmation. Once confirmed, the page will show the results—your token and its market are now live.
Tip: If a transaction fails, it’s usually due to network congestion or insufficient gas. Try again during off-peak hours and make sure your wallet holds enough SOL to cover the fees.
Step 4: Launch and Buybacks
After the token is created, the system automatically injects a portion into the virtual curve market as the initial liquidity pool. If you selected auto-launch, trading begins immediately. If you chose manual mode, head over to the Pump details page and trigger the launch yourself.
Once the market hits a certain progress threshold, liquidity will automatically migrate to an external decentralized exchange like Raydium. After that, you can manage your token from the “My Pump” dashboard—perform batch buys or sells (buybacks and burns), view holder distribution, and more.
Frequently Asked Questions (FAQ)
1. Which chains are supported?
Currently, Solana is fully supported. Support for BSC, Base, and other EVM chains is coming soon.
2. How do I set the buy/sell tax?
You can set any tax rate you want, but it’s best to keep it reasonable so you don’t hurt liquidity. Enter the percentage as a whole number when configuring.
3. Can I edit my token info after it’s created?
Core details like the token name can’t be changed, but you can update your website, social links, and logo from the project dashboard.
4. What if my wallet shows an “unsafe” warning?
If you’re using a wallet like Phantom and see a simulation error or an “unsafe” warning, you can safely ignore it and proceed with the transaction.
GTokenTool strips away the complexity of on-chain operations. Whether you’re a project founder, community manager, or just someone curious about launching a token on Solana, there’s zero barrier to entry. Got a token idea? Go create your own Pump token now.